Proxmox Post-Install Guide: Essential Configuration Steps
Learn how to configure Proxmox after installation. Set a static IP, disable unused features, run the post-install script, and optimize your server for homelab or production use.
Introduction
Proxmox installation and configuration could seem easy, while there might be some services you don’t actually need to have enabled and this actually might save you some resources.
💡 Quick answers: Jump to frequently asked questions about Proxmox.
Proxmox Installation Tips for Better Configuration
Installing Proxmox is fairly easy and straightforward, there’s only a few things I’d point out for better usage experience.
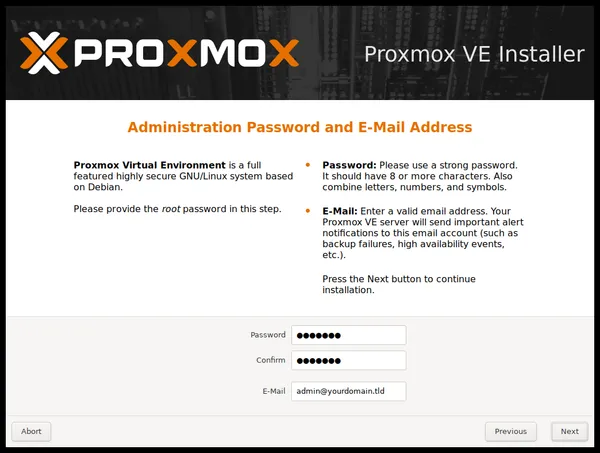
Set Admin Email in Proxmox for Alerts

I’d strongly suggest you to put your real E-mail in here while installing Proxmox, because later on, you can configure E-mail notifications for your homelab services and this will come handy, instead of having to replace it when you need it.
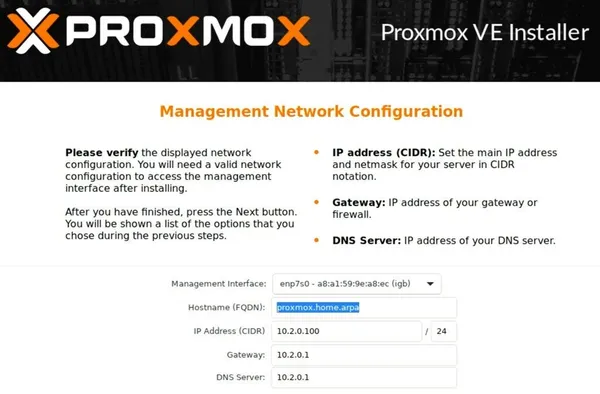
Configure a Static IP in Proxmox

One another recommendation would be to assign your Proxmox instance a static IP. Most routers easily allow you to assign a static IP to a certain MAC address so that it won’t be assigned to anyone via DHCP in case your Proxmox instance releases the IP.
Run the Proxmox Post-Install Script
Grab yourself a Post-Install Script and execute it in your node’s shell.
Going Through The Post-Install Script
Most of the stuff you’re going to go through is obvious, things like updating packages or disabling subscription nag when you log-in to your Proxmox instance. But there are also some caveats I’d like to go through.
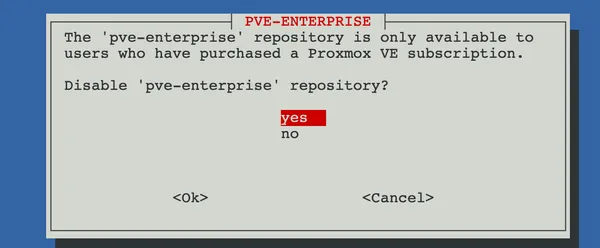
Disable Proxmox Enterprise Repository for Community Edition

Most likely, you’re gonna be running Proxmox community-edition, so you don’t need the Enterprise repository to be enabled.
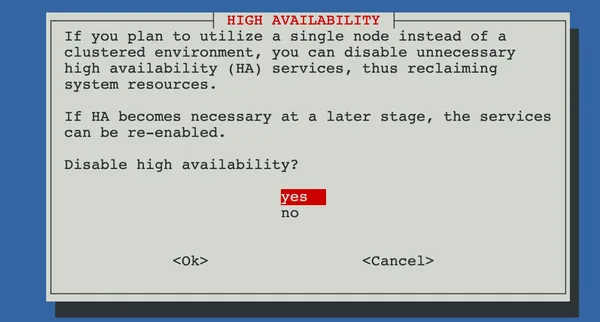
Disable High Availability on Single-Node Proxmox

Just as the script tells you, if you’re gonna be using only a single node of Proxmox, e.g single server, you don’t need High Availability to be enabled and disabling it will save your system’s resources.
The End
Other steps related to the script are pretty much obvious choice, so we’re done here.
💡 Frequently Asked Questions
Why should I set a static IP for my Proxmox server?
Do I need to keep the Proxmox Enterprise repository enabled?
Should I enable High Availability (HA) on a single-node Proxmox setup?
Thank you for taking the time to read :)
If you enjoyed the article, you’re welcome to join the Discord community.
